
I work as a teacher helping adults become developers. I do this at a few different schools as a consultant periodically during the work year. This year, I will have a lot of classes, and some of them will run in parallel, making my life quite busy.
My MacBook Pro has now passed the five-year mark, and its economic lifetime has ended. It still works well, but I worry about the stress and impact it would have on my life if it broke during one of the busy periods. I decided to upgrade preemptively but still keep the computer as a backup if something happens.
The natural thing to do would be to buy a new Mac. However, as I started to investigate what I needed, I got stuck in Apple’s famous product ladder, and the computer I “needed” would be quite expensive. I have not shied away from buying expensive computers in the past, but this time I thought it was a lot of money to show a few slides and do some basic coding.
If I think a Mac is too expensive, the only other choice is to choose a PC. For me, this is not a thrilling thought. I have been fully in the Apple ecosystem for many years now.
To make a long story short, I ended up looking at the Framework computers. What makes them special is that you can easily upgrade and repair them yourself without breaking warranty. This is what I decided to go with.
Enter the Framework Computer
There are two sizes of the Framework laptop: 13″ and 16″. Having had a 16″ Mac Book, I opted for the smaller form factor since I will carry it with me while traveling to schools and clients. If I am working from the office, I can always plug in an external monitor to get a bigger screen (and in the office, I will probably choose to use my stationary Mac).
The nice thing about the Framework, and the real reason I chose it, is that it is possible to upgrade it if needed with standard components.
Historically, I have always gone for higher specs when it comes to computer specs, buying more memory and disk space than I ended up needing. If buying a MacBook, you cannot really upgrade them, and going for higher specs means spending a lot of money.
In this case, I chose the AMD version and settled with a 1TB disk and 16GB RAM.
While waiting for the computer, I planned how I should install it. Windows 11 and dual-boot to Ubuntu was the initial plan.
I use a Synology NAS where I keep my files, and I sync the content to my laptop using Synology Drive. This gives me a Dropbox/OneDrive type of user experience, having my files synced to the computer and instantly accessible whether I’m connected to the network or not. But this uses a lot of disk space. Dual-booting means twice this space.
So, I ran out of disk space even before the computer arrived.
Thankfully, this was easily fixed. I ordered a 2TB disk from my normal computer store, and it arrived at my house a day before the laptop did. Hence, I had already upgraded my computer.
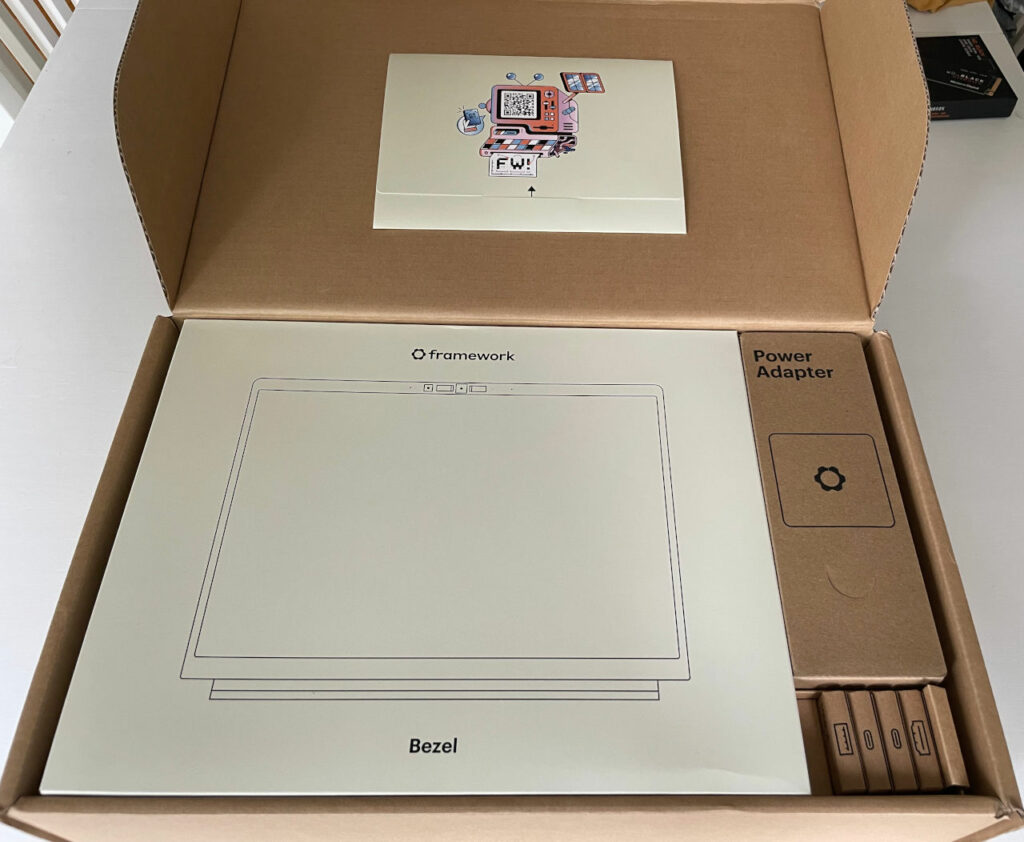
The IKEA Computer
Just like IKEA furniture, your computer comes in pieces, and you have to assemble it yourself. It is pretty easy to put together, and it takes about 20 minutes if you take your time.
By doing this process, you know what the laptop looks like inside, and if you need to upgrade or repair it, you feel at home with it and comfortable taking it apart.
There is, of course, also an option to get it fully assembled.
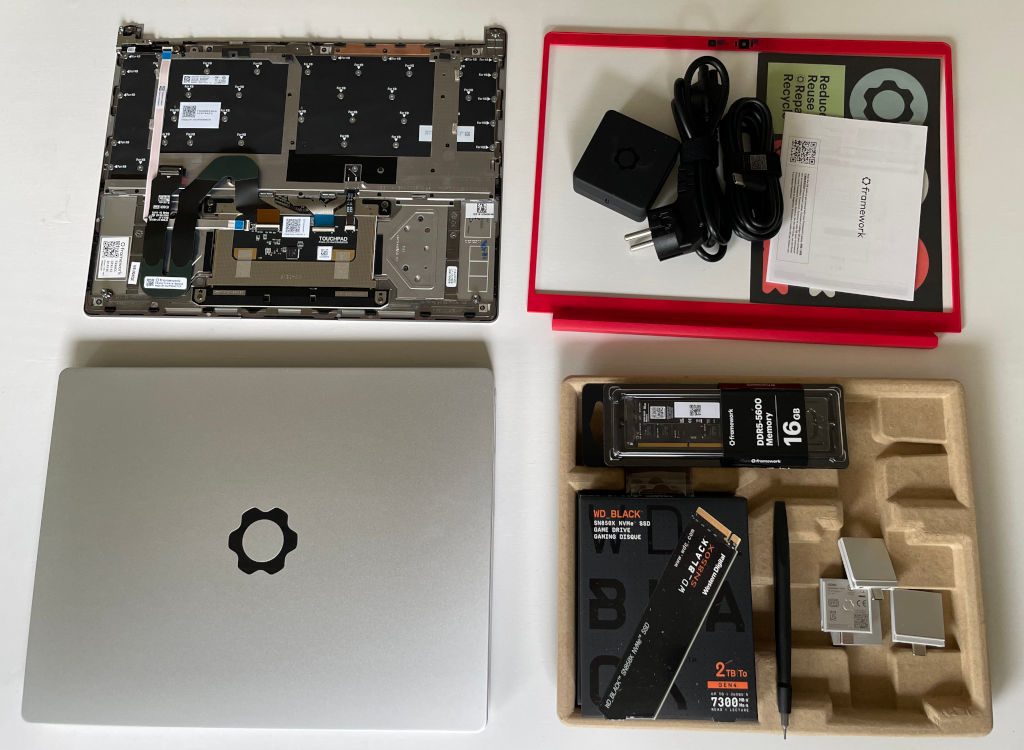
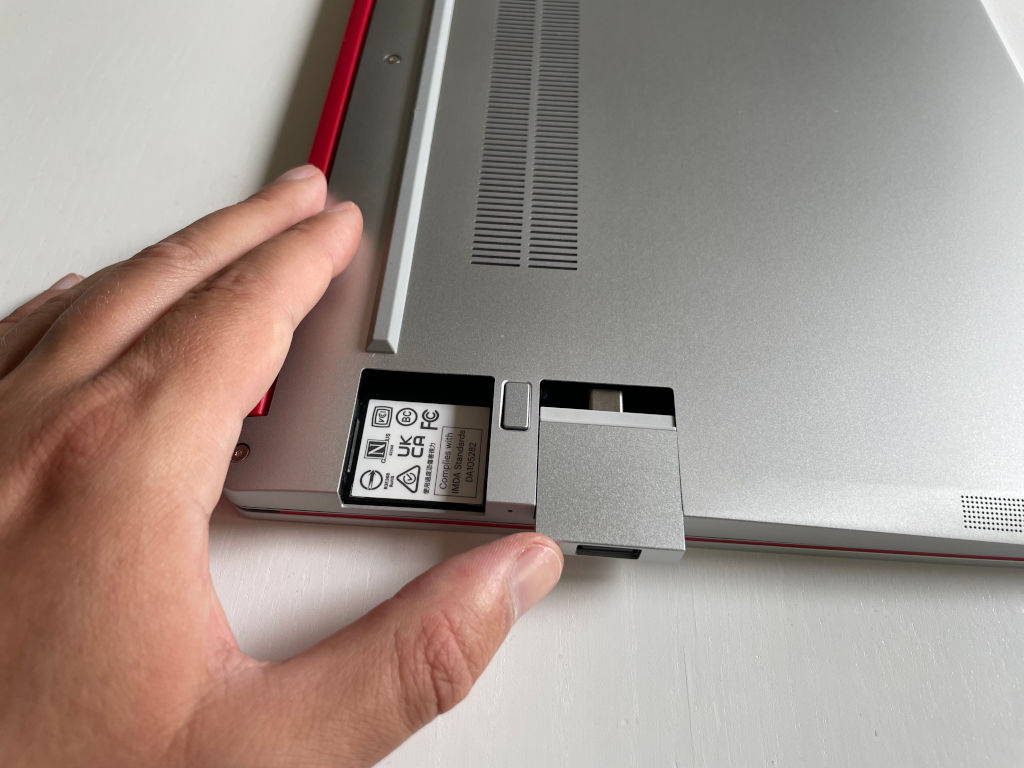
You put the memory modules and hard drive into the computer. After this, you attach the bezel and keyboard, fasten the five screws in the bottom, and attach the four (six if you choose the 16″) expansion cards. Now you are done and can start using the computer.
All the components are (fairly) easy to remove and change, such as the motherboard, battery, screen, etc. You can order replacement parts for these from Framework.
I got a 60Hz screen in the version I bought. But there is a 120Hz version to be released during the fall with a slightly higher resolution. If I want (I doubt I do), I can buy the new screen model and change it in my laptop while still keeping the warranty.
Thoughts So Far
I have not used the computer much yet. To give it a fair judgment, I have to use it for a while. I will do a follow-up to this post in a couple of months when it has gone through some real work cycles, maybe after the first semester. But my initial thoughts are positive.
Assembling the laptop was easy, and it was easy to install Ubuntu 24.04 (more about how I will use it in a future post).
The feel of it is good. It’s not a Mac, but still very good. Even though I put it together myself, it still feels sturdy.
The keyboard feels really good to type on. It’s way better than the Mac’s butterfly keys but not as good as a mechanical keyboard. However, that is my dream upgrade to this machine: mechanical keys. But I assume it would be way heavier and thicker, so maybe not…
The touchpad works okay. But as with most PC touchpads, it’s not great. I am not a touchpad person anyway and have always opted for an external device if I can, and so I do with this laptop too. I will still be able to do my work perfectly fine on the go without my mouse.
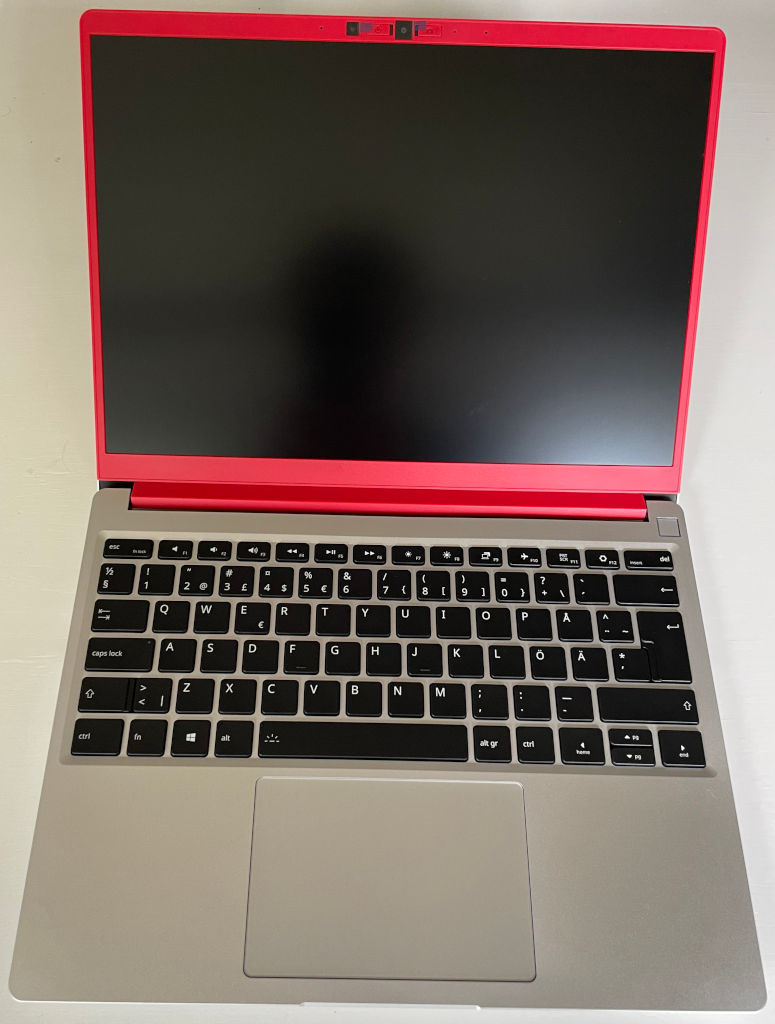
The screen feels a bit flimsy. It moves easily, and I worry about how this will function while working on a train or in another bumpy environment. The bezel around the screen doesn’t have a premium feel to it. It looks like something I made myself in my 3D printer. It could be that I chose the wrong one (red).
Conclusion
So far, I really like this computer, and I believe it will serve me well in the upcoming years. My impression is that I got a lot of computer for the money spent. It also gives me a sense of security that I am able to upgrade and modify it if needed.
The bigger question is probably whether I will feel comfortable working on a PC system after so many years working on a Mac. Since I am not abandoning the Mac, I will have to find applications that work cross-platform.
Let’s see if I’m still using this computer in a while or if I had to bounce back to a familiar system.