
Since I started to use Linux many many years ago, I have been exposed to many different text editors. In the beginning I used Midnight Commander (mc) and the built-in editor of it. If my memory doesn’t serve me wrong, I found and editor called “joe” that I found comfortable. My main use case was to edit configuration files so nothing fancy was really needed. As all new Linux users, I was deadly afraid of getting into vi since there was no way out. When I did, I sometimes had to reboot to get out. Quite a few years later I decided to deal with my “vi-phobia” and I learned vim. At least to a proficient level.
During these early days I was included in a project where I built a small tool to sample data from various sensors, store it in a database and later analyze it. For this project I used Emacs. This was first just to learn the tool. But when you have learned some of the quirky keyboard commands you can work pretty fast in it.
Fast forward 15 years.
As the productivity interested geek, I am I started to take notice of something called Org Mode. I learned that this is an Emacs extension that you can use to run your whole GTD-flow. After some reading about it I decided I wanted to try it out to see if it was something for me. Being on a Mac I got into some trouble getting it installed. In this article I will walk you through how to get Emacs and Spacemacs installed.
First you need to install Emacs. My recommendation would be to go to Emacs For Mac OSX where you will find a package. Install the package, but do not yet start Emacs. Wait until Spacemacs is installed – which is the next step. You can also find Emacs in brew but then you can only run it in a terminal not as a standalone X application.
You can find instructions to install it on the Spacemacs website. But since it is pretty easy and quick, I will describe it here.
Step 1 – in a terminal, in your home directory, clone the Spacemacs repository into your .emacs.d folder. But before, if you didn’t follow my advice to not start Emacs prior to this step, please backup and then remove your .emacs.d folder and .emacs file (they can both be found in you users home directory) before you run the below command.
git clone https://github.com/syl20bnr/spacemacs ~/.emacs.d
Step 2 – install the custom Source Code Pro font. Just download them and add them to font book application.
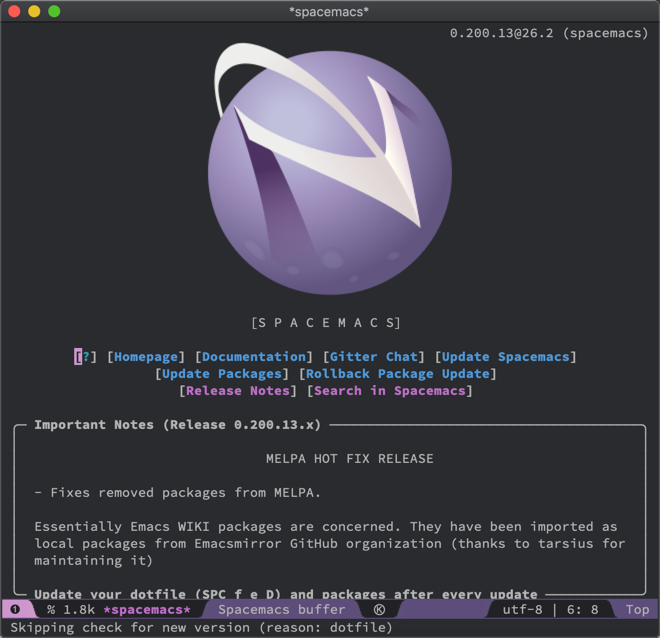
Step 3 – start Emacs. The first time you do it I recommend you do it from the terminal with the following command.
/Applications/Emacs.app/Contents/MacOS/Emacs --insecure
Insecure sounds really bad right!? Some of the packages that Spaceemacs needs is not under https and starting without this flag will likely cause an error. I really hope that this could be fixed. It will take a few minutes for Spacemacs to start up correctly and when it’s done you simply need to restart Emacs and the installation is complete.
If you want to modify your configuration file you should now work with the .spacemacs file instead of the .emacs file. I would recommend to right of the bat add the following lines to this file:
(setq mac-option-modifier nil)
(setq mac-command-modifier 'meta)
(global-set-key (kbd "C-c l") 'org-store-link)
(global-set-key (kbd "C-c C-l") 'org-insert-link)
The first two lines changes the behavior of your option and command button. If you are a long time mac user and used to how the mac keyboard works this will stop you from going mad.
The last two lines are Org Mode specific and used to create links between documents or files. I will go into this in more detail in my up coming Emacs / Org Mode article.
Now you should have a basic setup of Emacs on your Mac. You will now need to spend countless of hours to learn how your new system works and putting keyboard commands into muscle memory. But trust me, in the long run it will pay off. You will be able to work very fast. But if you are complete Emacs novice here are some guidance.
C – Means the Control Key
M – Means the Meta Key – with the settings above that would correspond to the “command” key.
You will usually see things like C-x C-f – this sequence will mean first press the control key and while that is pressed also press x, and then f still while control is depressed. With this particular combination you will open a file.
C-x C-c – Save and close
C-x C-s – Save the window
This was the bare minimum and there is of course a lot more to learn. In the next article we will look into what Org Mode is and how you can use it for your daily workflows.